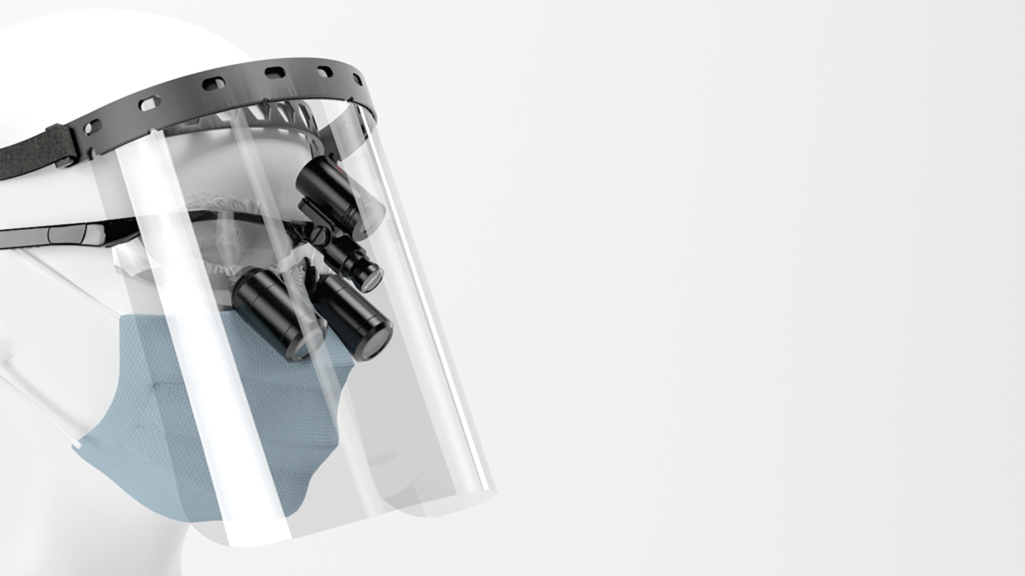
Face shield kits
Assembly instructions for the Fast Radius Face shield kits
Step 1: Gather required parts from packaging
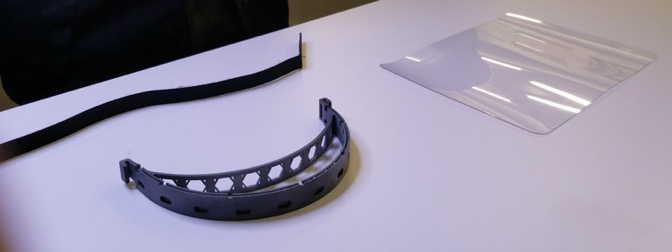
Begin by removing protective, opaque coating from both sides of the PET-G shield until it is fully transparent.
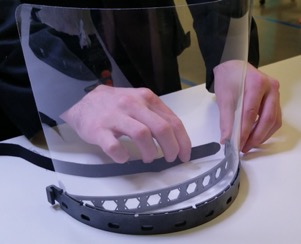
Step 2: Insert shield into halo
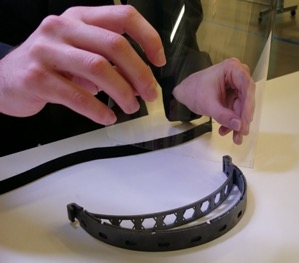
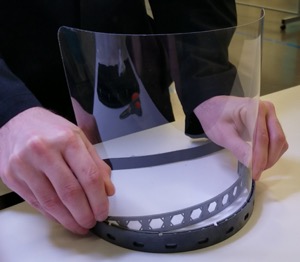
Begin by inserting one corner of the shield into the halo slit. Note: the halo should be oriented so the cutout features are on top.
Continue to insert the shield fully into the halo slit with a gentle rocking motion while applying downward force.
Step 3: Insert tightening strap into halo
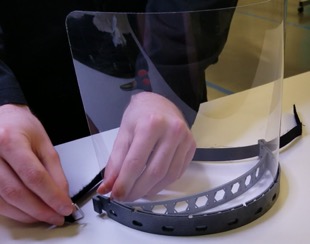
Begin by inserting the non-buckle end of the tightening strap through the loop in the halo. Note: the smooth side of the strap should be facing towards the halo.
Take the stainless-steel buckle on the tightening strap and fit it over the hook on the halo.
Step 4: Fold tightening strap and tighten to comfort
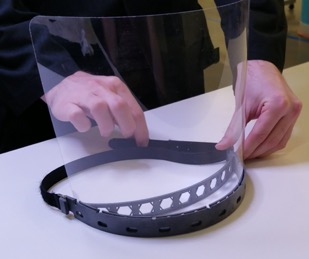
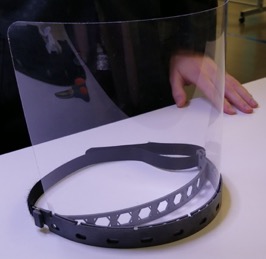
Take the hook portion of the tightening strap and fold it over onto the loop portion.
Place the completed face shield on your head and tighten the strap to comfort.